10 Golden Rules of a Printing Designer
adminShare

As a designer, you're probably already well-versed in the world of typography and graphic design. But when it comes to printing your designs on paper, you may not know what goes into making them look their best.
To help with this problem, we want to share with you 10 Golden Rules for Printing Designer! When you're done reading this post, you can expect to know;
- What kind of paper to use
- How to set up your file before printing
- What the final print colors are made from, etc.
Let's dive in!
Use high-quality Paper

As you can guess, the first rule is to print on good quality paper—that's obvious! But why? Well, cheap or low-quality papers will make your design look dull and boring. In turn, this means that people won't really want to keep it long enough for them to appreciate all of its amazing features. On top of that, they might not even notice some important message hidden within your text!
The bottom line is; if nobody wants to hold onto your printed piece in their hands, then there's little point in printing it at all...right?! That said, you should always try and use professional-grade materials when making prints so that everything looks perfect.
Tip: It also helps if you use a paper that complements your design, i.e., if it's black-and-white, then print on white or cream-colored paper and vice versa.
Prep your file before printing
The second golden rule of printing is to prepare the files correctly; otherwise, you'll end up with a bad print, and it might even be impossible for anyone else to fix! So what exactly do we mean by 'preparing'? Well, there are usually five elements that need tweaking to make them compatible with the printers:
- Resolution - DPI (Dots per Inch): The higher the number, the better
- File Format - Most printers can handle TIFF or JPEG images with no problem but if you're using Illustrator, make sure your file is in EPS format (version 0.92). Also, always include a CMYK color mode, and don't use spot colors unless absolutely necessary.
- Color Mode: RGB is for monitors, and CMYK is for printers
- Bleed: If your file includes any important information that needs to be printed close to the edge, you will need a bleed (a white border around the outside of the design). Of course, if it's not critical but still looks better with one—add one!

Credits: Pixart Printing
- Safe Zone (Margins): The safe zone is the area around your design that you should keep clear of text, images, or any other important elements. This will ensure they are printed properly and don't get cut off during printing.
If something doesn't print correctly, it might be a good idea to take the file back into Illustrator for some final tweaking, but be careful; some things just can't be fixed!
Check the file on a physical print
After you've prepared your file correctly and sent it to be printed, how do you know if there were any errors with the printing process? The answer is simple; just check out a hard copy! By doing this, you can find problems such as: - Colors not matching those in Illustrator - Incorrect bleeds - Missing elements that should be there, etc.
Once you've checked it yourself and made any necessary changes, then the final step is to compare your print with what was sent over by the printer so they can check for errors on their end.
Get Creative with your printing techniques

Image Credits: Pinterest
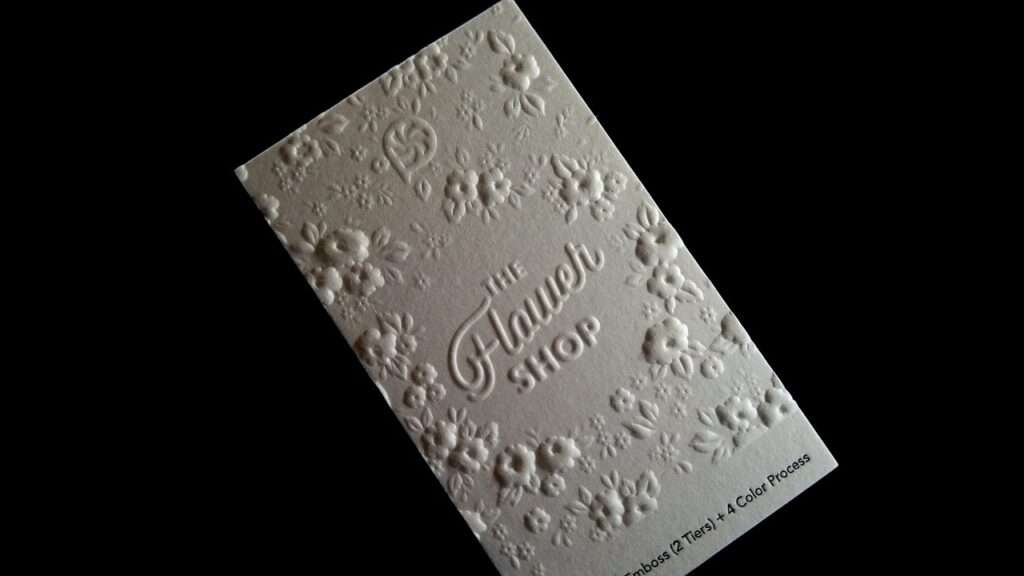
To make things easier for yourself, you should always try to use the most common printing techniques; this will ensure success and save time! The two best types of print are letterpress (where ink is pressed into the paper) and lithography (an early type of printing that uses stone or metal plates that have been coated with a waxy/greasy substance).
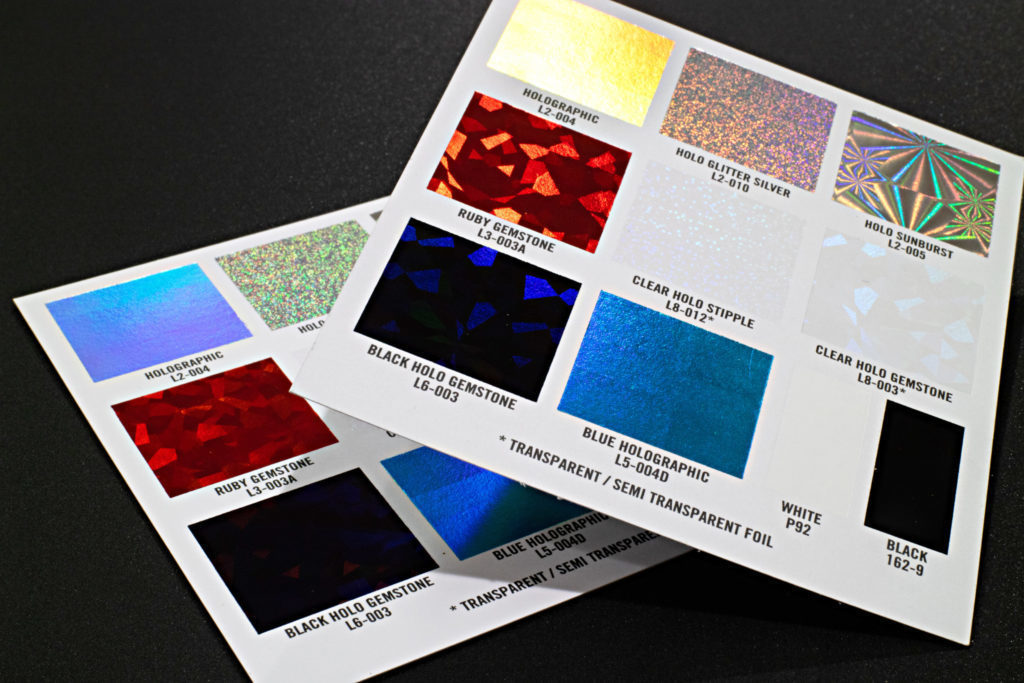
These printing techniques are the most popular because they give you high-quality results, and there is generally no issue with them being too expensive. However, if money isn't your primary concern, it's always worth experimenting with other types of print such as silkscreen or engraving! These two printing techniques are usually the most expensive, but they will give you spectacular results.
Don't be afraid to ask for proof

Image Credits: Designmatic
A proof is basically an example of what your print will look like, and it's usually sent before the final prints are made so you can check that everything is correct, e.g., colors match or bleeds are in place! Many printing companies won't give you proof unless you ask, so don't be shy to request for one, especially if it's your first time printing anything!
In most cases, when the final print is delivered, they will also send over a digital file of what was printed, which means that any mistakes can easily be fixed. The only problem with this is that sometimes it's too late to do anything about it, so just be careful.
Tip: The most straightforward way of getting proof is by using an online printer, as most of them will give you one without charge. However, if your print company doesn't offer this service, then why not use the PDF Proofing tool from Adobe Acrobat, which allows you to proof documents in Illustrator, Photoshop, or InDesign?
Take your time
This is probably the most important tip when it comes to producing quality prints; TAKE YOUR TIME! Why? Well, because if you don't, then there's a risk that your print job will be ruined, and nobody wants something like that on their hands. So just keep this in mind while printing out designs, especially if it's for someone else!
This is because they will probably want to see the design in person before actually having their name printed on it and rightly so! In other words, if you're working for a company, then make sure that your prints are delivered correctly and not full of mistakes. Remember, quality over quantity every time.
Tip: Be patient with your printer and ask them for help if you get stuck; they should be able to explain everything in more detail.
Don't start printing until you know what it is you want to print
This may seem like a basic tip, but hear us out; plenty of people forget about this and end up printing out something that they didn't mean to which doesn't look good for anyone. So make sure you know what your print is before you start printing it out; otherwise, everything will be a mess!
The good news is that most printers don't mind walking you through the process step by step, so if there's something that isn't clear, then just ask them to explain it again. Remember, patience is key in this game. So, take your time and do things right!
Don't print out designs that are too small
This is one of the biggest printing mistakes you can make, so it would be best not to do it. Yes, we know there's a lot to be said for mini prints, but if they're too small, then your printer may have trouble understanding what exactly you want printed on them, which could lead to mistakes and a whole lot of frustration.
So just make sure you design your prints to the correct scale; otherwise, they could get cut off, look blurry, or simply won't print at all! In other words, if there's something important on edge, then don't let it hang over as this will cause problems further down the line.
Tip: If you are running out of space on your design, why not try putting something small in the top corner so it doesn't get cut off? Just make sure that whatever is there isn't important; otherwise, mistakes will occur!
Your fonts should be professional

Image Credits: Pixart Printing
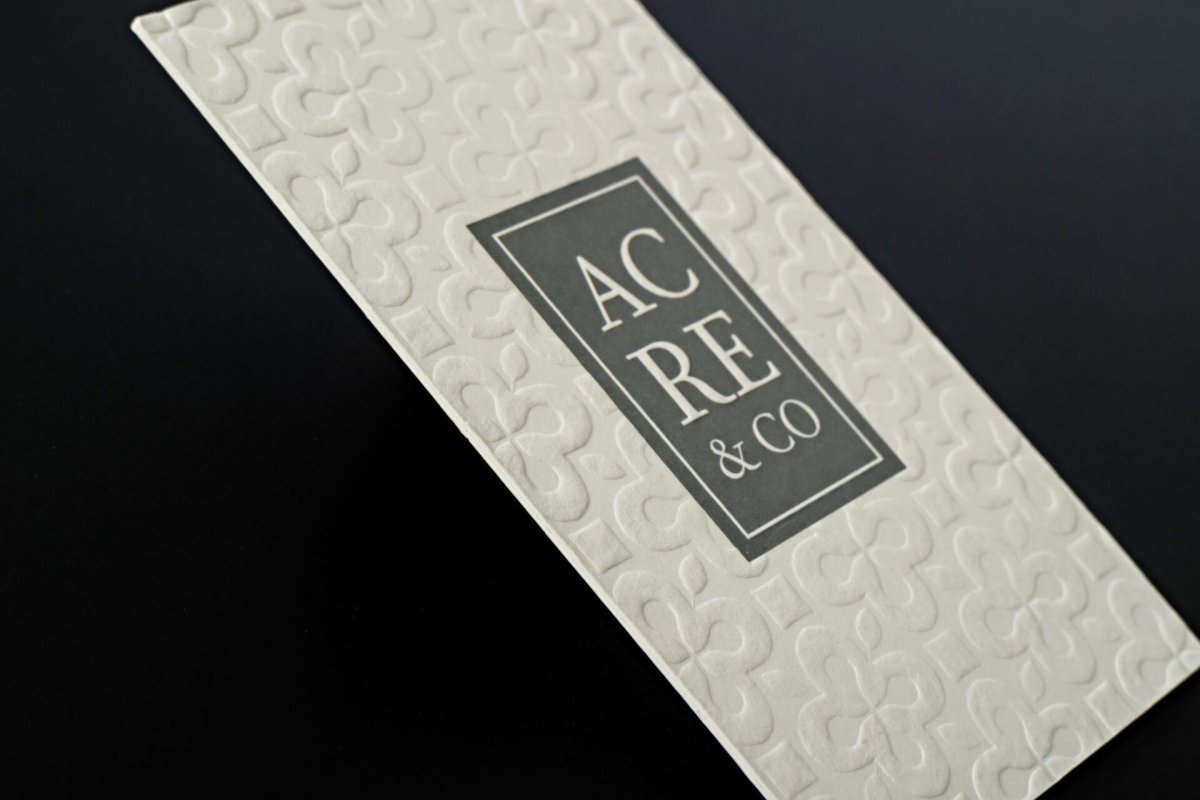
Fonts are very important when printing out designs, so it's worth doing your research before you start making them. This is because some fonts can look cheap or unprofessional, which means that the overall print won't look good at all which nobody wants to see! So just make sure you do enough research beforehand and pick a font that looks good and suits the print.
Tip: Try using a different size/typeface for your main text to make it stand out. On top of this, don't forget about kerning because if you do, your fonts will look messy, which definitely isn't what you want from an important design so think about the spacing between characters as well.
Have fun, experiment with different designs and don’t stop learning

Image Credits: Pixabay
As we said earlier, experimenting is one of the best ways to learn, which means that you should try out different designs whenever you can. This will help boost your confidence as well as helping with any important future projects so just have fun and experiment!
Tip: Try printing some quotes onto nice paper or cardstock for a personal touch.
Final Words
So there you have it; the top 10 golden rules of printing design. As we said, these rules are important and should be followed whenever you can. They will help with both your confidence and future prints, so make sure to follow them carefully.
Author Bio:
Samuel Matthews is a journalist and pro essay writer at NinjaEssays. With a strong passion for printing, Mathews love to learn something new and meet new people. He also likes drumming, traveling and sports.


