How to Photograph Lightning: 3 Tips for Getting the Perfect Shot
adminShare
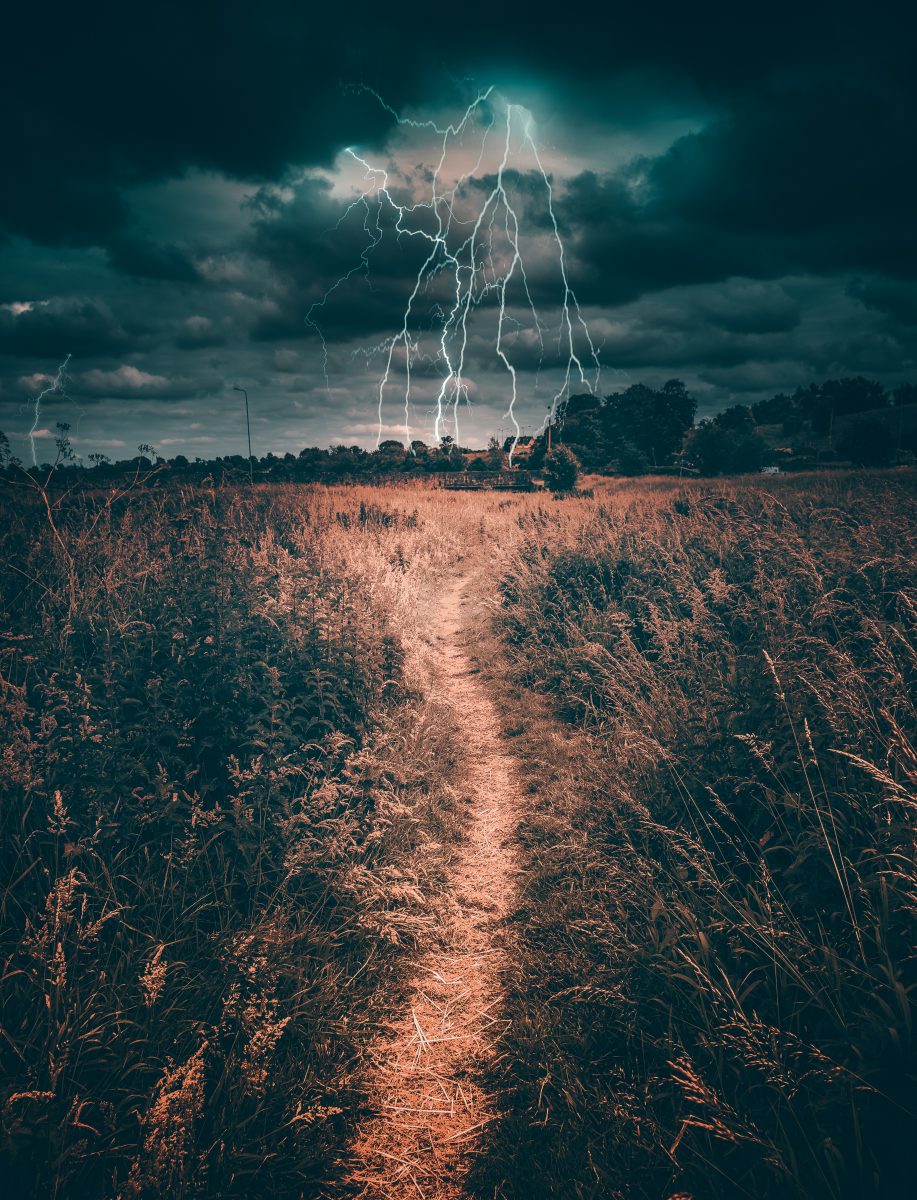
So you want to photograph lightning so you can use it for your business card or logo? And why wouldn’t you?
Gods like Thor and Zeus wield lightning as a weapon. Many superheroes, like The Flash and Shazaam, use it as their emblem. Lightning symbolizes power, speed, and a hint of danger.
Imagine handing out your business card with a lightning bolt streaking in the background. You’ll have an instant conversation starter, the story of how you took that picture!
But taking a photo of lightning isn’t as easy as whipping out your phone and pointing it to the sky. You’ll need the right equipment, technique, and a bit of luck. Here are some tips on how to photograph lightning.
 The most common approach to lightning photography is to use long exposures. So for beginners, we absolutely recommend using a tripod and cable/remote release. You don’t want the photos to come out shaky and blurry which will happen if you try to shoot hand-held.
You can use any type of lens but a wide-angle lens will allow some leeway. Since you can cover a large area, you don’t have to guess as much where the next bolt is gonna pop.
 Before the storm comes, pick several places that have a good view. But more important than that, make sure that the spot you’ll be taking photos from is safe! Avoid taking pictures near known lightning hazards such as trees and bodies of water.
You also want a good distance between you and the storm, around six to ten miles. You can calculate the distance by using the “flash-to-bang” method.
1. Gear Up
Phone cameras and compact cameras will not cut it. To capture the magnificence of lightning, you’ll need to invest in a decent DSLR camera. This will give you the necessary control over the shot that your normal point and shoot cameras cannot. The most common approach to lightning photography is to use long exposures. So for beginners, we absolutely recommend using a tripod and cable/remote release. You don’t want the photos to come out shaky and blurry which will happen if you try to shoot hand-held.
You can use any type of lens but a wide-angle lens will allow some leeway. Since you can cover a large area, you don’t have to guess as much where the next bolt is gonna pop.
2. The Right Location Is the Safe Location
As in real estate, photographing lightning is about location, location, location. You can use a weather app or watch the local forecast to find a lightning storm. A good location, however, requires a bit of planning. Before the storm comes, pick several places that have a good view. But more important than that, make sure that the spot you’ll be taking photos from is safe! Avoid taking pictures near known lightning hazards such as trees and bodies of water.
You also want a good distance between you and the storm, around six to ten miles. You can calculate the distance by using the “flash-to-bang” method.


