Here’s What You Should Know About Foiling As A Designer
adminGraphic designers need to create designs for many purposes, from a small logo to a banner design and everything in between. Foiling also needs a design and so a designer. But designing this piece of art isn’t the same as normal designing. There are certain things that you should take care of while designing and in the first place, you should know a little bit about foiling.
So here in this article, we’ll cover all that. We’re gonna walk you through not knowing anything about foiling to perfectly create artwork for that.

What is foil stamping?
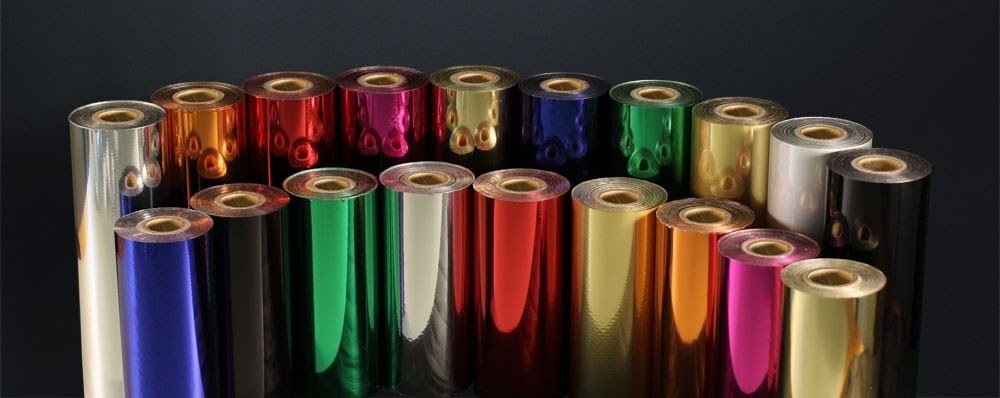
The most important question is that “What’s foiling or foil stamping?” In a short and easy way, it’s the art of using a thin sheet (like metal) on paper or anything to give it a shiny appearance or to beautify it. It makes the design eye-catching. Foiling can be done in any color and there is a variety of foils that can be used
You would’ve definitely seen foiled materials in real life. It’s done on invitation cards, business cards, pamphlets, packaging materials, promotional and marketing material, brochures, book covers, and pretty much everything that’s printed can be foiled as well.
Why should a graphic designer care about foiling?
Let’s clear this first. Foil stamping requires a design. This is the design that’ll be foiled and someone needs to create it. There are some things that are different for foil designing. You should know about foiling so you know what you’re creating art for and also you should know about the designing process. So this is why a graphic designer should know about foiling.
Let’s put this aside now and continue our topic.
How is foiling done?
Let’s discuss briefly how it all happens. You'll basically need these 4 things,
- Foil: The sheet that’ll be stamped on the paper or substrate.
- Die: The stamp that you’ll use to press on the foil.
- Foiling Machine: The main machine that’ll do the job.
- Substrate: The object on which you’ll foil, like paper and card.
Procedure:
So what happens is that your design is etched (carved) in a piece of metal through acid and UV light. This metal piece is called a die and it works as a stamp. Now you place your die in the machine. Set up the substrate and the foil. When you start the machine, through a combination of heat and pressure the foil will stick to the substrate in accordance with the design. Due to the involvement of heat, it’s also called hot foil stamping.
When foiling is being done the arrangement is like this. Our stamp is at the top and the substrate is at the bottom. In between, we have our foil so that the stamp can push on it.
Types of Foils:
There’s a variety of foils that you can use in hot foiling. However, we’re going to discuss the major ones here.
- Metallic Foils:
These are the most basic and most common ones. Metallic foils are usually made up of aluminum, tin, or copper. They can be used in their original color but we use a very thin colored layer to give it different colors.

Gold, silver, copper, metallic blue, metallic green and many other colors are available in these foils. They give shine to the element and brighten the whole design.
They are further divided into 2 following types.
Gloss metallic foil: It has that metallic shine as it reflects light properly. It can be used for large elements but mostly used for small ones.
Satin metallic foil: It doesn’t reflect the light completely and thus it doesn’t have that metallic shine. It’s kind of matte type but made of metal.
An interesting fact: In ancient times people used real gold for foiling. It was expensive and the method was difficult. Due to the human nature of always moving towards easier and cheaper options, we know foiling as it is today. However, you can still use gold but it’s pretty expensive.
- Holographic foils:
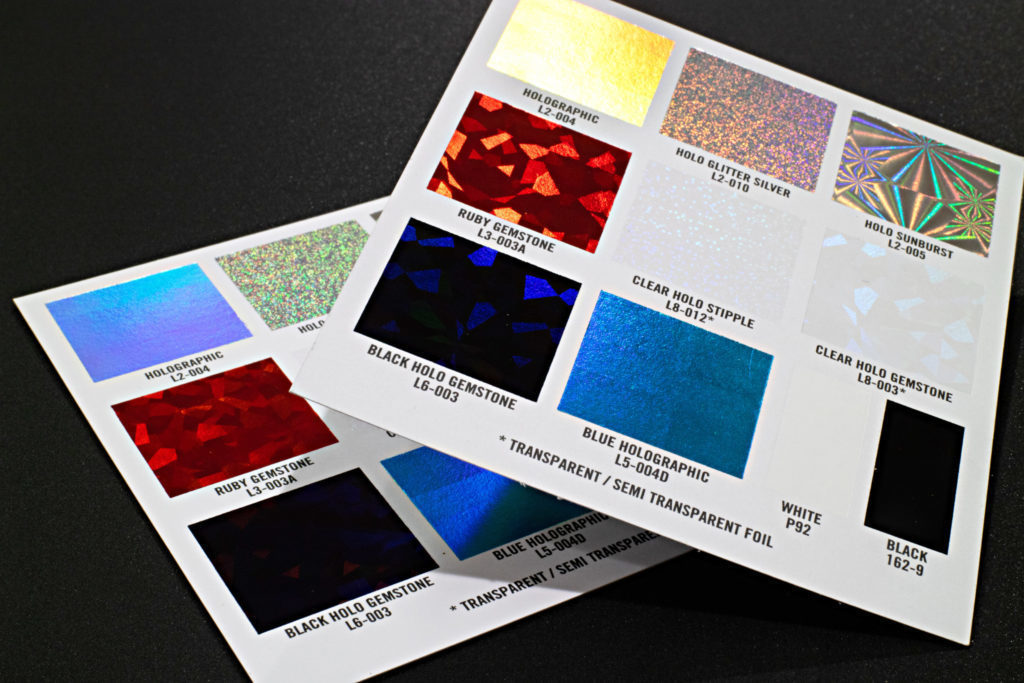
Just like any other holographic thing, these foils have rainbow shades. When they reflect light they disperse it in rainbow colors and thus create a very eye-catching and elegant style. They also have 2 types,
Simple / Plain holographic foil: As the name suggests they are plain. Just a simple sheet that reflects rainbow colors.
Patterned holographic foil: These holographic foils have small patterns on them like dots, lines, and different small and medium sized patterns.

- Textured foils:
As you can understand from the name, these foils have texture on them. Like wood, marble, or any other one. They are useful when you’ve to give some wood foiled texture but don’t want to use wood.
- Pearl foil:
These foils are semi transparent. They give a pearl-like shine to the design. You might have seen them on wedding cards. They’re mostly used for beautifying the design by adding shine and a little color. And they’re mostly available in light colors.
What should be kept in mind is that as they are semi transparent the substrate color you’re using also affects the finished design.

- Pigmented foils:
These foils are available in both light and dark colors and in a variety of shades. They are used when you need simple solid colors without the metallic effect. They are also found in 2 types,
Matte pigment foil: They are matte and have no shine at all.
Gloss pigment foil: They have a glossy shine that’s different from metallic ones.

Foiling dies:
As discussed earlier, foiling dies or just dies, are metal pieces that have your design in raised form and work as a stamp. And this is etched through acid and UV light. Let’s give you a brief idea of how this is done.
The process involves printing your design on a film and then using UV light and acid on it. After that, it is transferred to the metal and exposed to the acid which will remove the excess part of the metal and you’ll be left with your impression raised. Now this die is ready to foil.
Types of dies based on their working:
Based on the working of the die they’re divided into the following 3 types.
For each design, you’ll have to get a separate die. You can find them in local shops and online as well.
- Single level dies:
This is the most common type and when we’re generally talking about dies we mean single level dies. Almost all magnesium and copper dies fall into this category. It’s a simple block of metal having a stamping etched side and a flat back one. Just like a normal stamp.
- Pattern dies:
Their structure is also the same as the single level die. The only difference is that their etched side has a pattern on it. With the design, a pattern is also etched. So when you foil the design the pattern is also foiled.
- Combination dies:
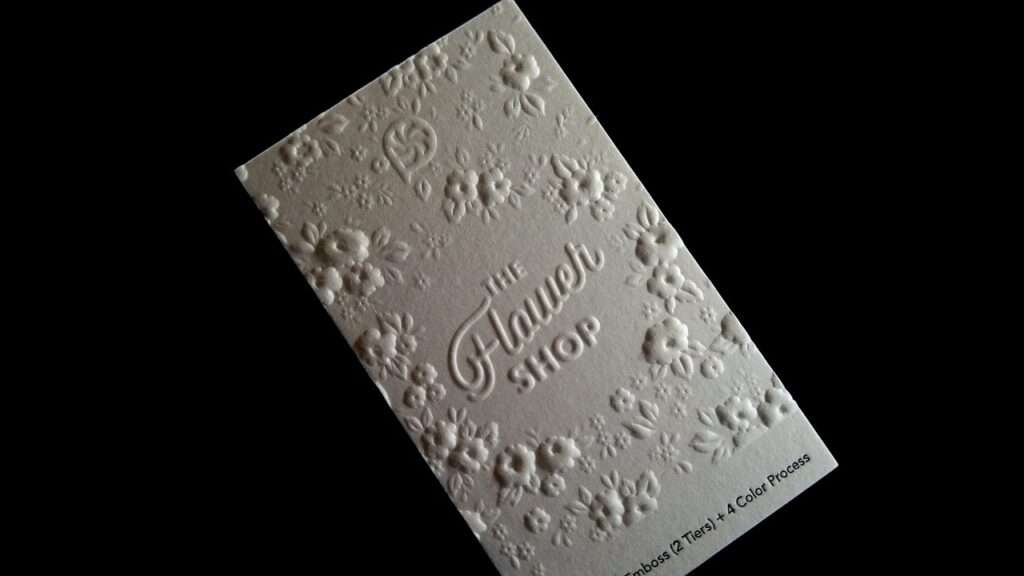
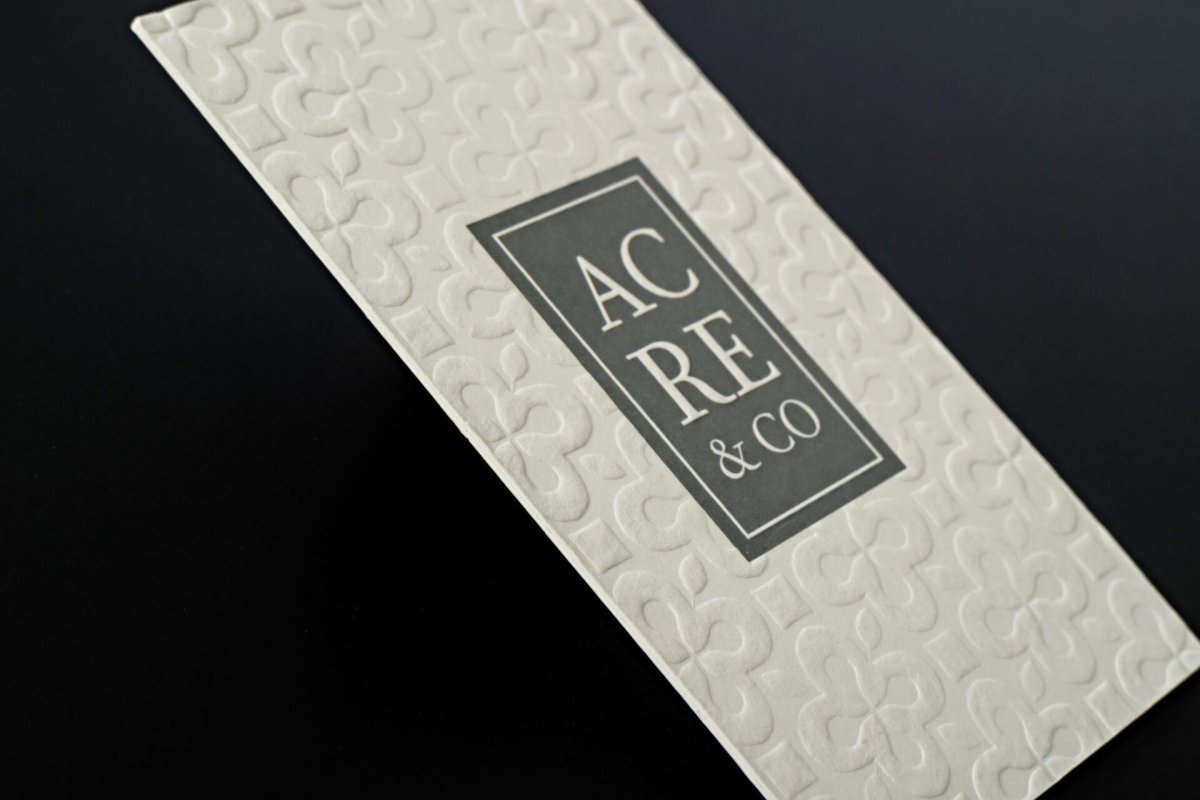
The combination die combines both foiling and embossing. It does both of them in one go. If you don’t know, embossing is when you get any pattern raised in a design it’s called embossing. Like on credit cards we have the numbers raised, that’s an example of embossing.
Sometimes we need to foil embossed designs. In these scenarios, combination dies works great as it does both together. It’s more expensive than a normal die and it’s used in industries where high quantities of such designs are prepared.
Materials used for making dies:
So which metals are used for making dies? The most common 3 are copper brass and magnesium. We’ve discussed these materials in detail in a separate article. You can check that out here. (INTERLINK) For now, we’ll just give a little overview.
- Magnesium: It’s lightweight and strong. Compared to the other materials it’s the cheapest one.
- Copper: It’s more expansive than magnesium and it’s used for very small and intricate designs.
- Brass: It’s the most expansive among all 3 and usually used by professionals.
Foiling machines and their types:
A foiling machine is one of the main equipment required for foiling. There are a lot of companies and brands providing these machines. All of them fall into one of the following categories.
- Clamshell process:

This is the most basic foiling machine. It presses the foil on the substrate through the die such that the foil is sandwiched between die and substrate. It’s easy to use and the die can be easily changed in this machine. It doesn’t require a lot of time to set it. It’s mostly used for small runs and not suitable for big industries.
- Straight stamp press:

Straight stamp presses are good for long runs. The setting time is more but once set it takes less time to do the job. This is because the path of the paper is straight. It goes from one side and comes foiled from the other.
- Roll press:

These are the fastest machines for foiling. The die here is in roll form and when the substrate goes in the roll die goes over it and foils it. But these dies are expensive and the setting time is also long. It’s definitely not for small runs. These are used in factories that have to produce large quantities of designs (in hundreds and thousands) in a limited time.
What is foil release and why is it important?
As we now know, foils are made of thin layers. The layer which gets attached to the substrate is called the release layer and it acts like glue. All foils have different release layers. Some require more pressure than others, some stick instantly and some need to be pressed for some time.
Here are 3 types of foil release.
Easy release foil:
These foils come off the roll easily. They are ideal for textured substrates like textured papers and leather but not much suitable for very straight and smooth surfaces.
Medium release foil:
Medium release foil’s sticking ability is in between easy and tight foil release. It is good for large and medium areas.
Tight release foil:
Tight release foils have the strongest sticking ability. They’re the best for fine details such as when you want the foil to stick very well and leave empty spaces in between properly.
Why do we have different foil releases?
The question here arises, why do we have different foil releases? So here’s the answer.
Because different elements require different foil releases. So the knowledge of foil release is necessary as you’ll need separate dies for each element that needs a different foil release.
This isn’t a necessary thing for a graphic designer to know but as this article is explaining everything about foiling we had to discuss it. Moreover, it’s good to have a basic idea of everything, for if you’ve to work on a foiling project you know the terminologies and can communicate and understand their requirements better.
How to design your artwork for a foiling project?
The answer you were waiting for is finally here. The designing process isn’t any different. There are just a few things that you’ll have to keep in mind while designing. Let’s have a look at them.
- Design in vector:
Design either in adobe illustrator or in Photoshop but make sure you’re working in vector. As it contains only lines and can be expanded without affecting the resolution. This will help in getting a high quality die.
- Create at least 3 layers:
You’ll have to create at least 3 layers. One will contain the whole design. 2nd will have only those elements that’ll be foiled and the last will have all elements that’ll be printed.
- Design in CMYK and use 100% colors:
Use 100% colors. Like 100% black or white so work in CMYK. Make sure that whatever color you’re using like black, white, cyan, or magenta should be 100%. There’s no need to create a gradient or to do shading. This is because colors don’t go well with the etching process and can affect the quality of the die.
- Bleed and dpi:
Set your bleed to at least 3mm and your dpi to 300.
- Save in PDF format:
Don’t use JPEG, GIF, or any other format. Save and send your designs in PDF form.
6 effective tips to make a perfect design for foiling:
We’ve discussed the main things that you’ll have to take care of. Now here are some tips that’ll help you do better with your design for foiling.
- Communicate with the person who’ll foil it. Get the details of anything you’ll need to properly design your artwork like size and positions of elements based on foil release.
- Design small details and large areas of art separately as both will require a separate die based on the foil release. This will be more clear when you’ll communicate with the foiling person. They’ll guide you better as they’re experts in it.
- Don’t make too thin lines and details especially if you’re going to use magnesium dye. It’s because after some prints that small detail would disappear or wouldn’t be able to sustain its shape.
- Be very careful with your design. Any mistake of typo, placement, or size can make a whole die useless and it will cost money to your client.
- Send all the 3 layers in a composite PDF.
- You don’t have to impersonate the foiling effect in your design. It’s not a necessity.
To sum it all up:
Foiling is a renowned process that’s used to stamp a sheet called foil on a substrate in the desired pattern through heat and pressure. As a graphic designer, you may be asked to create a design for foiling. In such a case, you should have a basic idea of foiling and you should know how it’s different from regular designing.
To create an artwork for foil stamping you’ll have to work in CMYK. Use 100% black or white color for the foiling elements and design in vector.
Set your bleed to 3mm and dip to 300. Create 3 layers. First will contain the whole design, the second layer will have only foiling elements and the third one will have printing elements. Save this in PDF format.


